Step-by-Step Guide to Repairing a Tear in the Washing Machine Seal
Washing machines have become an indispensable part of our daily lives, simplifying the daunting task of laundry. However, a malfunctioning washing machine seal can quickly turn this chore into a nightmare. Barakat Al Dar Repairing Dubai understands the significance of a properly functioning washing machine and offers this comprehensive guide to help you efficiently repair a tear in the washing machine seal.
Assessing the Extent of the Damage
The first step is to evaluate the extent of the tear in the washing machine seal. Carefully examine the seal for any visible damage, such as cracks or holes. Ensure that the tear is not a result of underlying issues, such as excessive vibration during the spin cycle or an imbalanced load. Understanding the root cause is crucial to prevent the problem from reoccurring.
Safely Disconnecting the Washing Machine
Before starting the repair process, ensure the washing machine is completely disconnected from the power source. Unplug the machine and turn off the water supply. This precautionary measure prevents any potential accidents and ensures your safety throughout the repair.
Removing the Old Seal
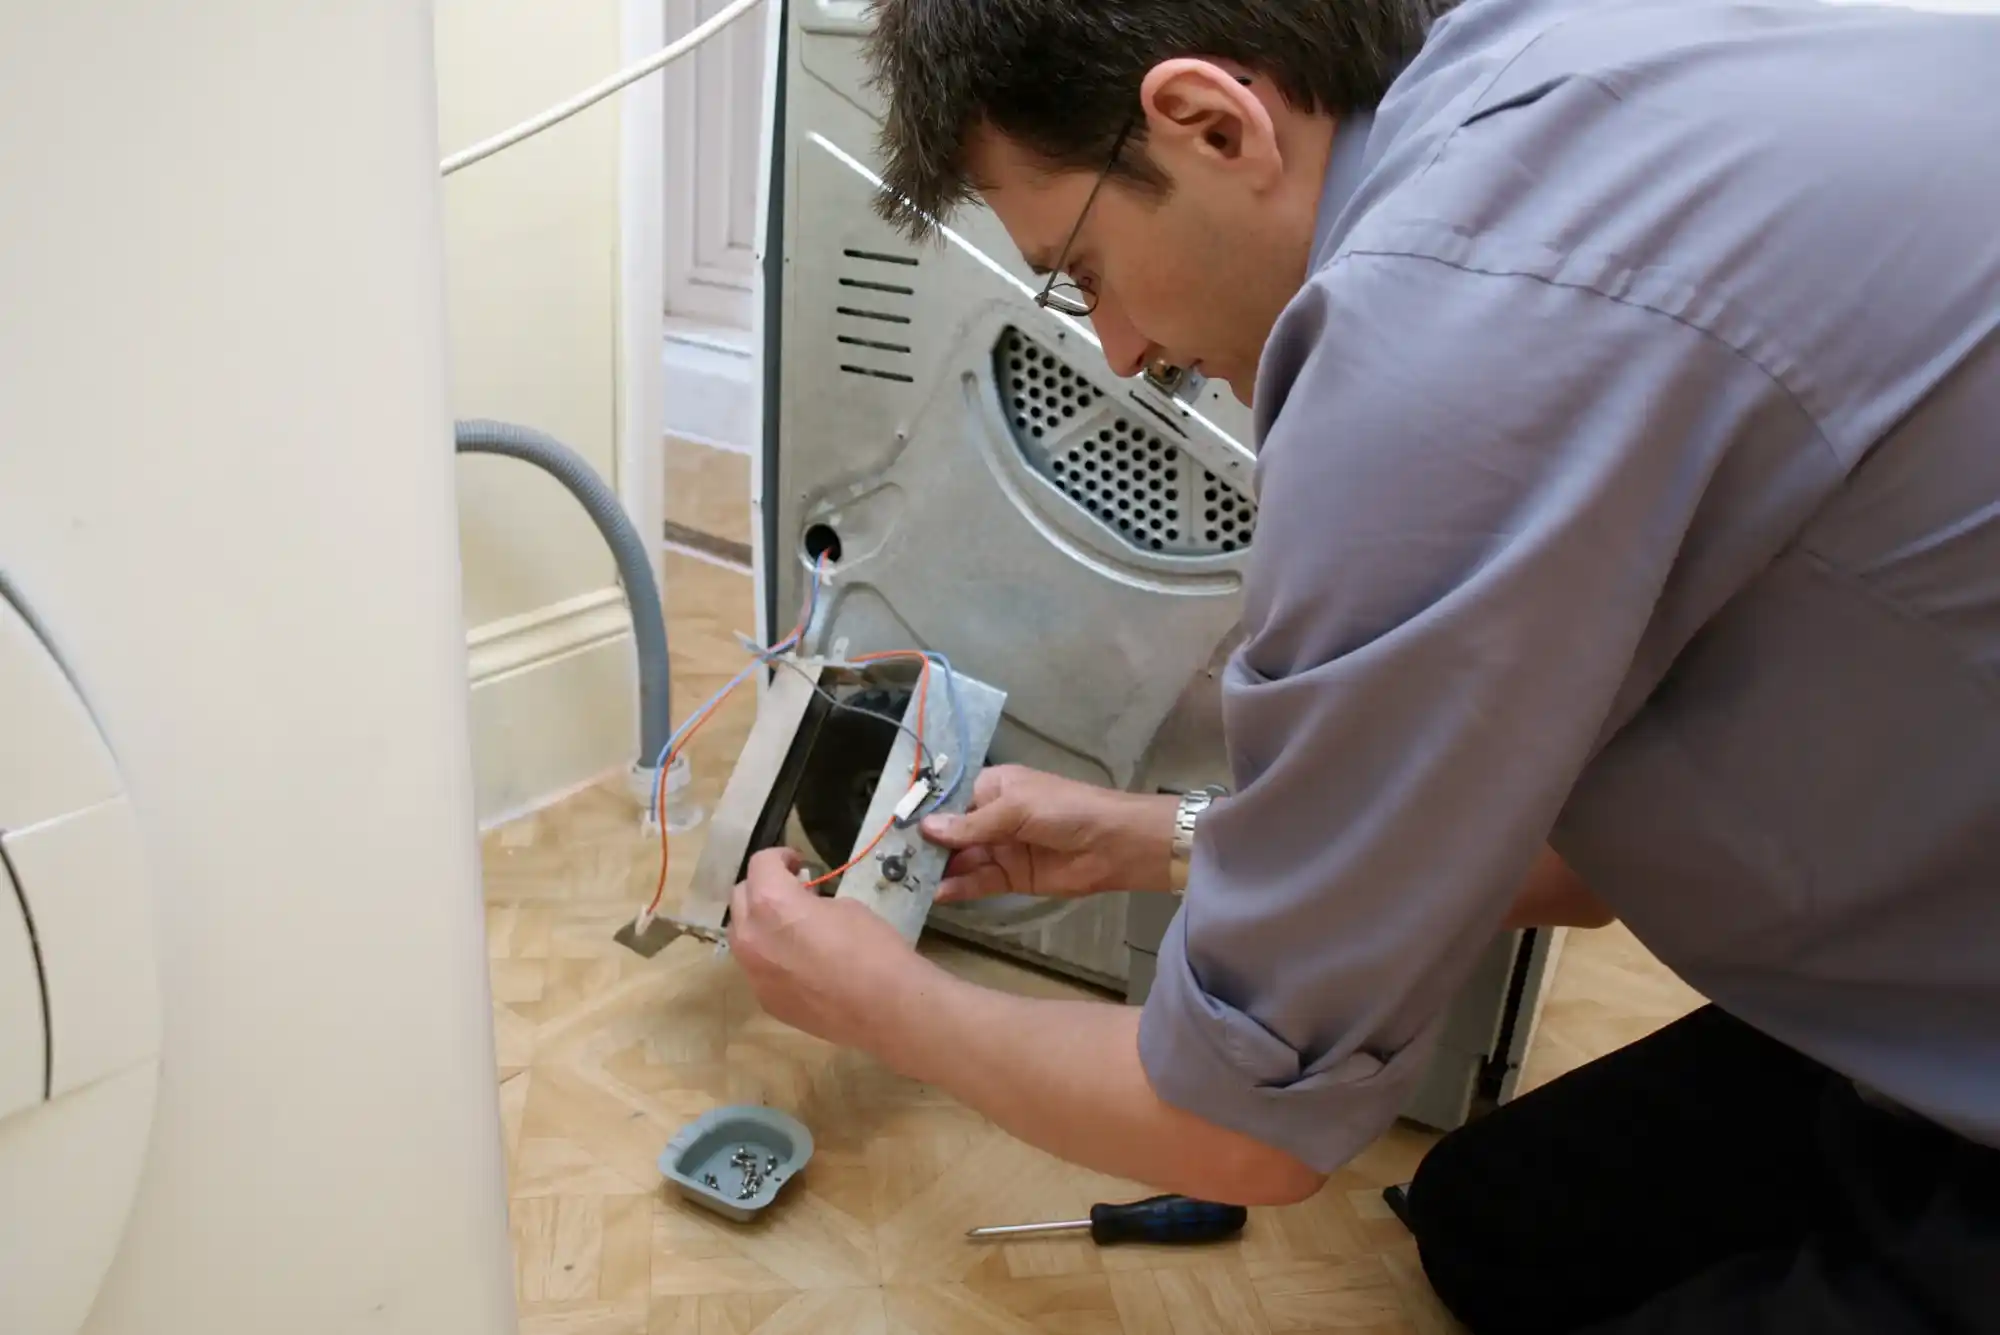
Once the washing machine is safely disconnected, carefully remove the damaged seal. Use appropriate tools, such as pliers and screwdrivers, to detach the seal from its position. Be gentle during this process to avoid causing any additional damage to the machine or the surrounding components.
Cleaning the Area Thoroughly
After removing the old seal, it’s crucial to clean the area thoroughly. Use a mild cleaning solution to remove any accumulated grime or debris around the seal. Ensure that the surface is completely dry before proceeding to the next step. A clean surface is vital for the proper adhesion of the new seal.
Applying the New Seal
Now comes the crucial step of applying the new seal. Ensure that you have the correct replacement seal that matches the make and model of your washing machine repair. Carefully position the new seal in place, ensuring a snug fit around the door or the drum, depending on the location of the original seal. Follow the manufacturer’s instructions for the correct installation process.
Ensuring a Secure Fit
After applying the new seal, check for any gaps or misalignments. Gently adjust the seal to ensure a secure and proper fit. Any gaps or misalignments can lead to water leakage and further damage. Double-check the alignment before proceeding to the next step.
Testing the Machine
Before celebrating the successful repair, perform a comprehensive test to ensure the seal is functioning correctly. Run a short cycle without any laundry to check for potential leaks or irregularities. Listen for any unusual noises and observe the seal for any signs of displacement or malfunction. Only proceed to regular use once you’re confident in the repair’s success.
By following this step-by-step guide diligently, you can successfully repair a tear in your washing machine seal and restore the smooth functioning of your appliance. However, it’s essential to remember that some tasks are better left to the professionals. If you encounter any difficulties during the repair process or are unsure about your skills, don’t hesitate to contact Barakat Al Dar Repairing Dubai for expert assistance.
Regular maintenance and timely repairs are essential for ensuring the longevity of your washing machine. By understanding the intricacies of repairing a tear in the washing machine seal, you can save both time and money in the long run. Trust in the expertise of Barakat Al Dar Repairing Dubai to provide reliable and efficient solutions for all your washing machine repair needs.


