Unlocking Washing Machine Repair: A Comprehensive Guide
Is your trusty washing machine acting up? Before you call a repair technician, consider opening it up yourself. With the right guidance, you can diagnose and fix common issues without breaking a sweat. In this article, we’ll walk you through the process of opening a washing machine for repair, step by step.
Safety First: Preparing for the Repair

Before you embark on your washing machine repair journey, prioritize safety. Unplug the appliance from the electrical outlet to avoid any accidents. Also, make sure to gather the necessary tools and materials:
- Screwdriver set
- Pliers
- Wrench
- Replacement parts (if needed)
- Safety gloves and goggles
Identifying the Problem
The first step in any repair is identifying the problem. Here are some common washing machine issues and how to diagnose them:
Noisy Spin Cycle
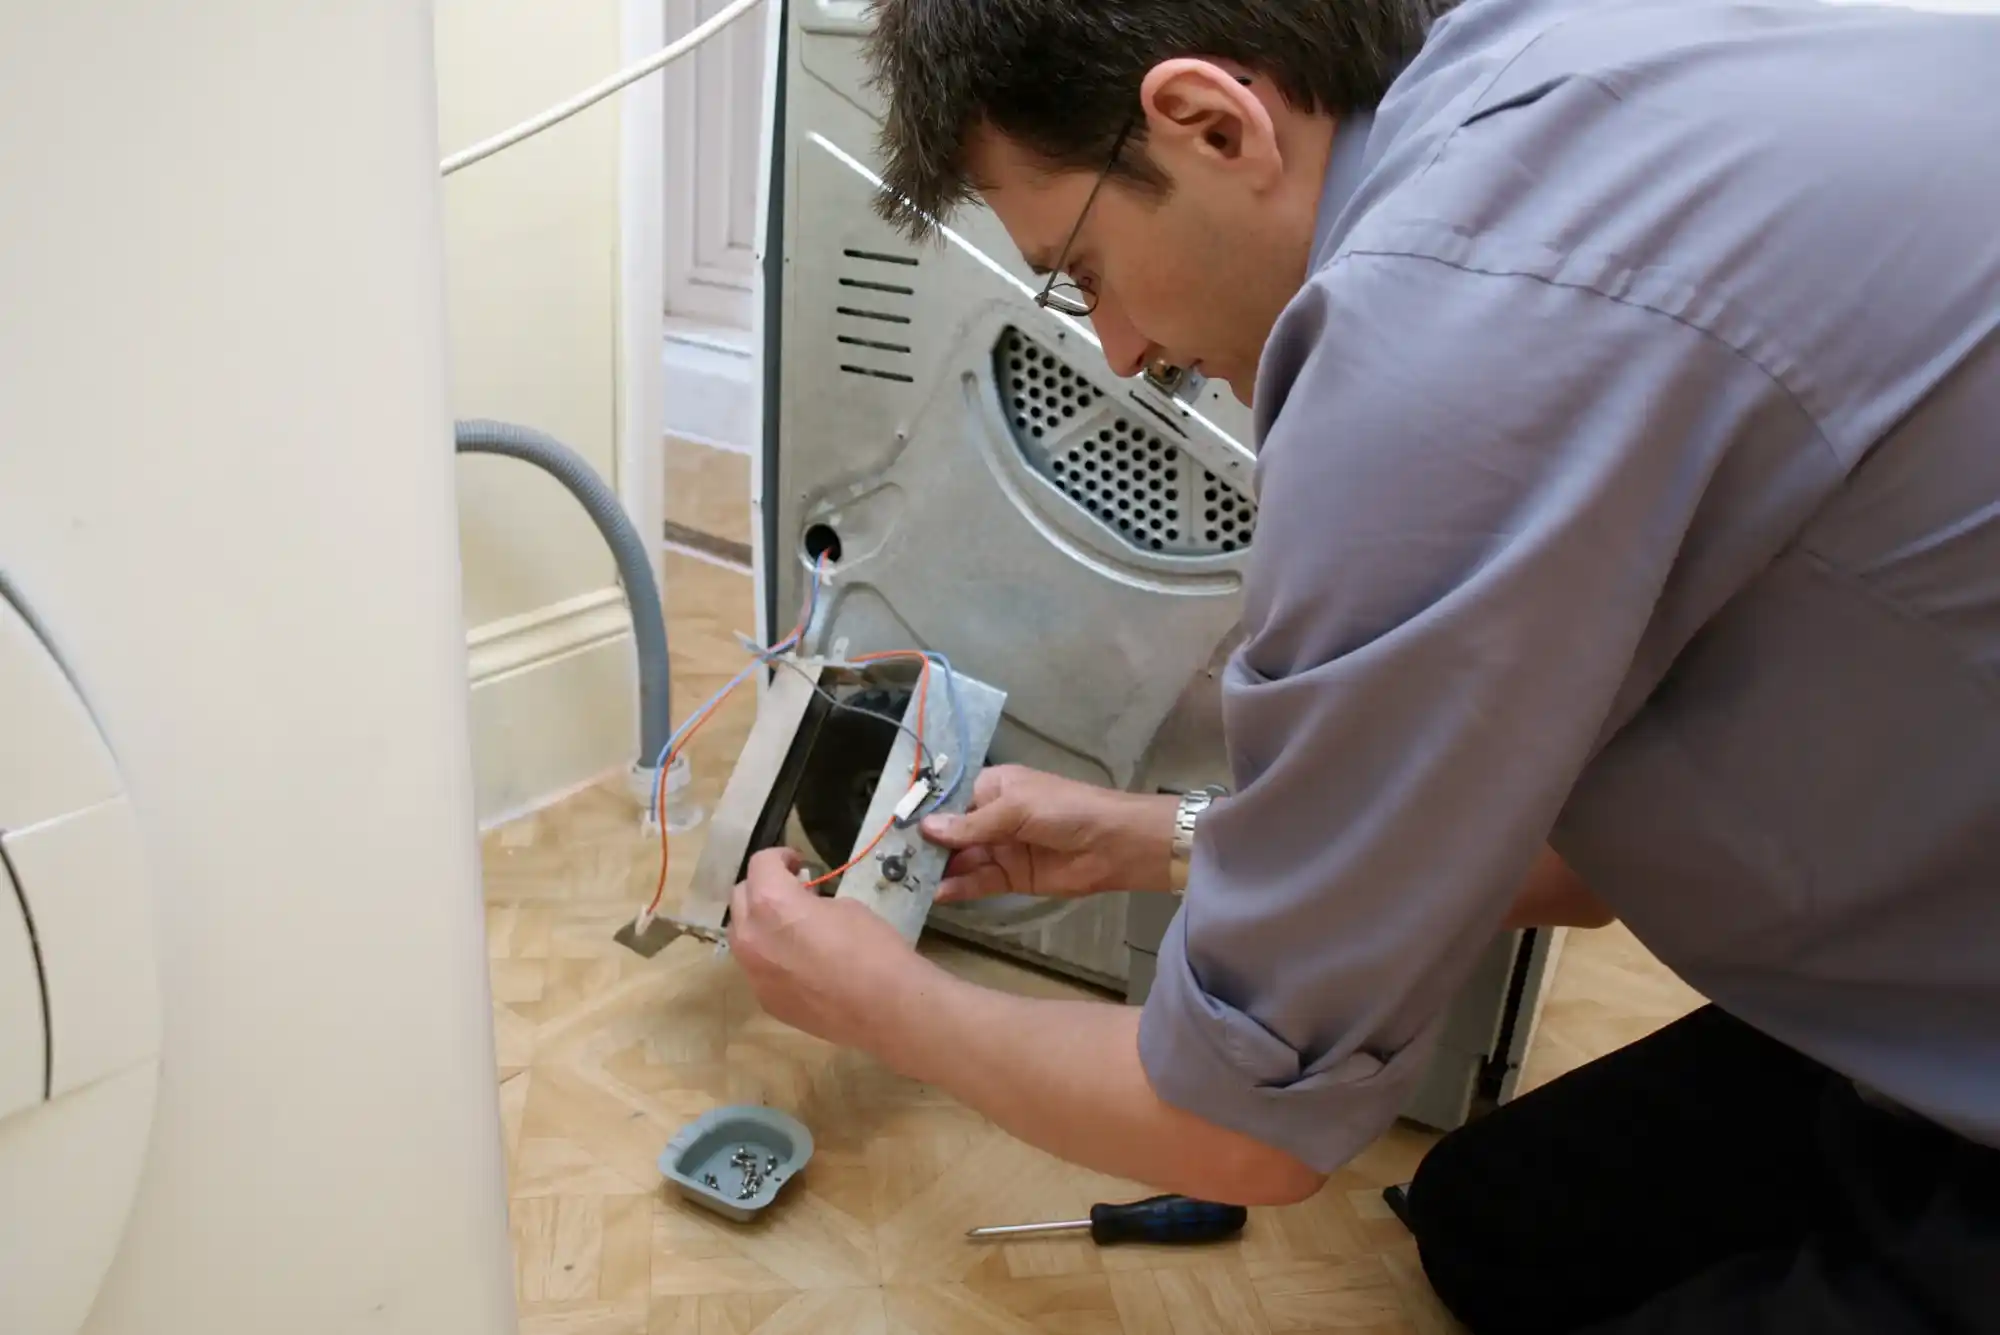
If your washing machine is making unusual noises during the spin cycle, it may be due to a loose drum or worn-out bearings. To check, remove the back or top panel (depending on your machine’s design) and inspect the drum and bearings.
Leaking Water
Water leakage is a common problem. To locate the source, remove the lower front panel and inspect the hoses, pump, and door seal. Tighten loose connections or replace damaged parts as necessary.
Won’t Start
If your washing machine refuses to start, it could be a faulty lid switch or a problem with the timer or control board. Open the control panel to access these components and troubleshoot accordingly.
Opening the Washing Machine
Once you’ve identified the issue, it’s time to open up your washing machine. The process may vary depending on the brand and model, but here are general steps to follow:
Front-Loading Machines
For front-loading machines, start by removing the screws holding the lower front panel in place. Once the panel is off, you’ll have access to the internal components.
Top-Loading Machines
Top-loading machines usually have a hinged lid. Open it to access the interior. Some models may require you to remove screws or clips securing the top panel in place.
Diagnosing and Repairing
With the washing machine open, you can now diagnose the problem more accurately. Consult the manufacturer’s manual for guidance on specific parts and troubleshooting tips. If you need to replace any components, do so carefully and make sure everything is properly aligned.
Reassembling and Testing
After repairing or replacing parts, it’s time to put everything back together. Follow the reverse of the disassembly process. Ensure all screws and clips are securely fastened. Plug the machine back in, and run a test cycle to confirm that the issue has been resolved.
Opening a washing machine for repair may seem intimidating, but with the right precautions and guidance, it’s a manageable task. Remember to prioritize safety and consult your manufacturer’s manual for specific instructions. By diagnosing and fixing common issues yourself, you can save money and extend the life of your washing machine. So, roll up your sleeves and get ready to tackle those laundry troubles!


